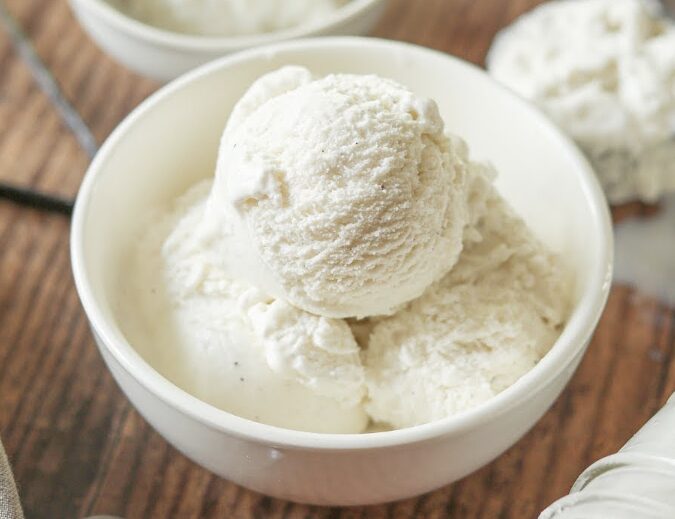
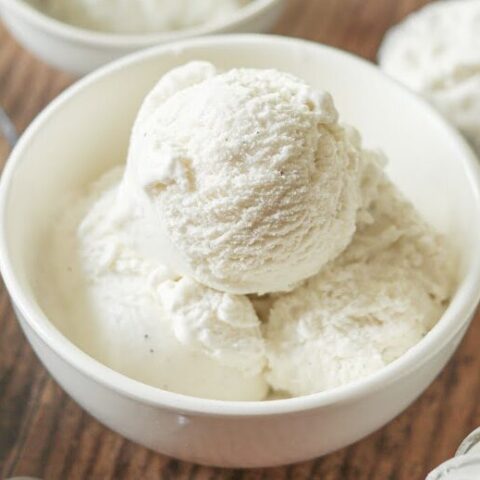
Keto Vanilla Ice Cream
This Keto Vanilla Ice Cream provides a decadent, ultra-creamy texture that perfectly mimics premium store-bought versions without the high sugar content. Because you utilize a base of sugar-free condensed milk and heavy cream, you achieve a dense, velvety mouthfeel that avoids the icy texture common in many low-carb frozen desserts. Furthermore, the optional addition of a small amount of vodka acts as a stabilizer, lowering the freezing point to ensure your ice cream remains scoopable and smooth even after several days in the freezer.
Ingredients & What You’ll Need
- Sugar-Free Condensed Milk: Serves as the thick, sweet foundation that provides body and prevents iciness.
- Heavy cream: Functions as the primary source of healthy fats; you can replace half with coconut or nut milk for a lighter version.
- Powdered Swerve Sweetener: Delivers a clean sweetness that dissolves instantly into the cold cream.
- Vodka: Acts as an optional but highly recommended anti-freezing agent to keep the texture soft.
- Vanilla extract: Imparts the classic, aromatic flavor profile essential for a premium vanilla base.
- Salt: Enhances the creaminess and balances the sweetness of the sweeteners.
How to Make Keto Vanilla Ice Cream
This method focuses on a thorough chilling process followed by traditional churning to incorporate the perfect amount of air for a light, scoopable finish.
1. Prepare and Blend
First, make your sweetened condensed milk according to your preferred sugar-free recipe and let it cool completely to room temperature. Once cooled, whisk in the heavy cream, powdered sweetener, vodka, vanilla extract, and salt. You must ensure the mixture is completely homogeneous. Therefore, you create a stable emulsion that will churn evenly in the machine.
2. Adjust and Taste
Taste the liquid mixture at this stage and adjust the sweetness if necessary. If you choose to add extra allulose for a softer set, you must whisk for an extended period because the granules take longer to dissolve in cold dairy. Consequently, taking the time to ensure total dissolution prevents a gritty texture in the finished product.
3. The Chill Phase
Place the mixture in the refrigerator to chill for at least one hour, though leaving it overnight is the best way to develop the flavor and ensure a better churn. This step is crucial because a cold base allows the ice cream maker to work more efficiently, resulting in smaller ice crystals and a smoother result.
4. Churn and Freeze
Pour the chilled liquid into the canister of your ice cream maker. You should churn the mixture according to the manufacturer’s directions until it reaches a soft-serve consistency. Finally, transfer the ice cream into an airtight container and freeze for at least 4 hours. This allows the ice cream to “ripen” and reach a firm, scoopable state.
Tips and Notes
- The Secret to Scoopability: Adding 1.5 tablespoons of vodka is the best way to ensure the ice cream doesn’t turn into a solid block of ice in the freezer; the alcohol does not affect the flavor.
- Allulose Advantage: If you have it on hand, replacing part of the Swerve with allulose can result in an even softer, more traditional texture.
- Mix-In Ideas: Once the ice cream reaches soft-serve consistency in the maker, you can add keto-friendly chocolate chips, crushed pecans, or a swirl of sugar-free caramel.
- Serving: You should let the container sit on the counter for 3-5 minutes before scooping if it has been in the freezer for more than 24 hours.
Keto Vanilla Ice Cream
This Keto Vanilla Ice Cream is a rich, professional-quality dessert that uses sugar-free condensed milk to achieve an incredible texture. It is the perfect blank canvas for your favorite keto toppings or enjoyed simply on its own.
Ingredients
- 1 recipe sugar-free condensed milk (cooled)
- 1 1/2 cups heavy cream
- 3 tbsp powdered Swerve Sweetener
- 1 1/2 tbsp vodka (optional)
- 1/2 tsp vanilla extract
- 1/8 tsp salt
Instructions
- Whisk: Combine the cooled condensed milk, heavy cream, sweetener, vodka, vanilla, and salt in a large bowl.
- Taste: Adjust the sweetener level if desired, ensuring all granules are fully dissolved.
- Chill: Refrigerate the mixture for at least 1 hour (or up to 24 hours).
- Churn: Pour into your ice cream maker and process until it reaches soft-serve consistency.
- Set: Transfer to an airtight container and freeze for 4 hours until firm.
Notes
- Dairy Substitutes: You can substitute half of the heavy cream with full-fat canned coconut milk for a subtle tropical undertone.
- No Ice Cream Maker?: While churning is recommended for the best texture, you can pour the mixture into a shallow pan and stir vigorously every 30 minutes for 3 hours to mimic the process.
Nutrition Information:
Serving Size: per servingAmount Per Serving:Calories: 260Total Fat: 25gSaturated Fat: 16gCarbohydrates: 4gNet Carbohydrates: 4gFiber: 0gSugar: 2gProtein: 2g